Current Issue
Our Partners
P3 3-4/2024 en
What Does it Mean ...
Open Source Software for Desktop Publishing
Education Gap
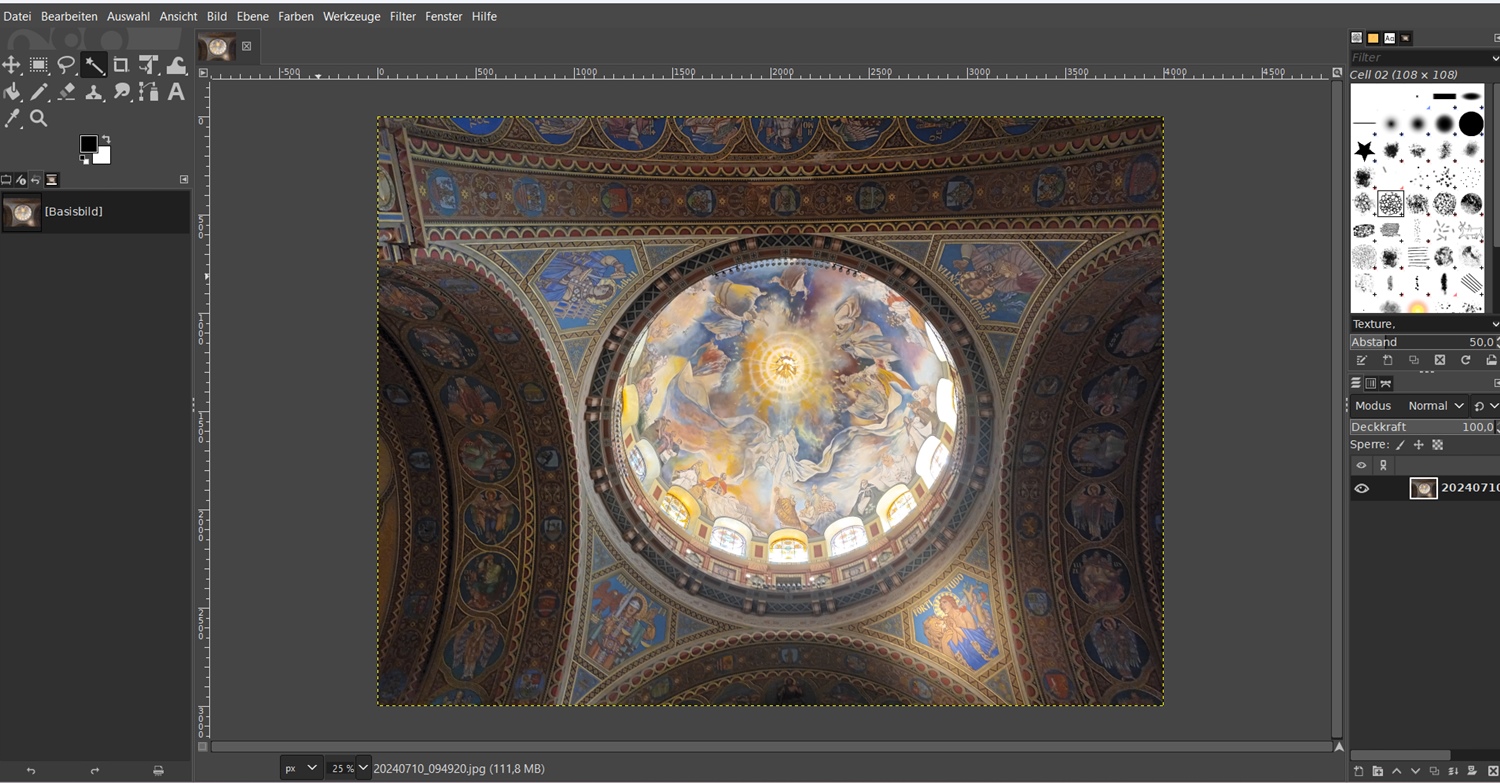
Figure 1: Gimp start interface.
Recently, a conversation with a colleague turned to the subject of costs and licenses for prepress software. Doing without products from industry leader Adobe seems difficult to implement. In particular, the good integration of software solutions for image processing, vector graphics, layout and numerous utilities quickly tempts you to accept the cloud-based solution with an attached subscription contract, sometimes with more or less gritted teeth.
Figure 1: Gimp start interface.
I recently read in an article about the aviation industry that airlines have a great interest in having various aircraft manufacturers on the market. To avoid one-sided dependence, fleets are usually made up of models from different manufacturers. Interesting, I think. How dependent is the graphics industry on its supplier Adobe and are there perhaps alternatives?
Of course, I have to answer this question immediately with a yes. Products such as CorelDraw, Affinity or QuarkXPress with alternative licensing and payment models are still available, and there are also numerous utilities that are provided with the basic equipment of devices. Another option is open source programs, which will be the focus of this article. To represent the classic canon of desktop publishing, I have chosen the software Gimp, Inkscape and Scribus and would like to briefly introduce each of them.
Gimp
Gimp is now the best-known alternative to Photoshop for image editing. I used version 2.10.38. The interface is very tidy and anyone who is familiar with Photoshop will quickly find their way around.
Tools, palettes and layers work in a similar way to Photoshop and can be arranged as desired on the screen. Gimp includes all the functions necessary to edit an image professionally. The classic retouching tools can be found mainly under the Colors, Tools and Filters menus. A very convincing function is the split view, which allows a quick preview of the editing. In addition, a large community supports the development and maintenance of the software and provides numerous tutorials, plugins and scripts.
As it is an open source project, the development capacities are, as expected, more limited than with the flagship Photoshop. You have to make compromises, especially with intelligent functions and prepared automations. But if you are not afraid of your own scripts in this regard, you will be rewarded under the Filters palette. Here you will find an integrated script and Python console. The biggest weakness of Gimp, however, is the lack of support for a CMYK color mode. Currently, only RGB, grayscale and indexed color conversion modes are available. The implementation of a full CMYK color mode has at least been announced for a future version of Gimp.
After editing is complete, the data can be saved in Gimp's own .xcf format or exported to a desired format. In summary, Gimp can hold its own against Photoshop when it comes to classic image editing in the areas of RGB and grayscale. The lack of a CMYK mode is a significant disadvantage, but it can be compensated for by a corresponding workflow with intermediate or late binding.
Inkscape
In addition to image editing, creating and editing vector graphics is also a daily routine in desktop publishing. I fondly remember the Macromedia Freehand software, whose intuitive operation enabled a quick work process. I remember the later merging process with Adobe Illustrator as a rather slow process that required some adjustments in the work. That is of course long gone. The current version of Illustrator sets standards just like Photoshop. I came across Inkscape while looking for an open source version for my notebook with an ARM processor. I use version 1.2.2. At first it took a few attempts to find the tools in the menus and understand how to use them. I am now very happy with this software. Inkscape follows a reduced and user-friendly approach. All the basic tools for creating and editing vector graphics are on board. The user interface is very clear and tidy. In the basic view, the drawing tools for lines, Bezier curves and geometric objects are located on the left edge, as well as fill, gradient and selection tools. Tools for aligning and transforming are arranged at the top. The color and fill functions for areas and contours are lined up in the lower area. The right area is reserved for more extensive palette functions. These are organized similarly to Illustrator and can be shown or hidden. The palettes can be selected via a context menu and are very sensibly structured.
To arrange the palettes freely on the work surface, they must first be selected in the palette view and then moved into a window. This is a bit cumbersome, but you quickly get used to it.
The positioning of the functions for working with files such as Save, New Document or Print is unusual. These are located on the outer edge on the right. Object tools such as Duplicate, Clone or Group are positioned below.
Inkscape has path tools for editing nodes (anchor points) and handles of Bezier curves. There are also Boolean operators such as union, difference, intersect, etc. for various path operations. Of course, there are also layers, arrangement and grouping tools. In terms of the depth of the individual functions, the options are somewhat more limited than in Illustrator. However, this disadvantage is very well compensated for by shared resources and support in the community. All in all, Inkscape is a very useful tool that can not only export to many target formats, but also saves in SVG format by default and also codes it cleanly. So if you are intensively involved in the design of SVG-based web content and would like to edit it directly in the code from time to time, this software is highly recommended.
Scribus
The layout area is still missing. Here I worked with Scribus version 1.4.8. The start screen may seem a bit old-fashioned at first glance, but it offers a good overview, especially for those new to layout, and guides the user to the right document format using simple queries and clear templates. Nothing can really go wrong.
The work surface is then started and you can get started. The central element is the properties window. In this very structured operating window, all functions for the individual layout elements are summarized and can be edited. As long as no layout elements are used or selected, the properties window is inactive. All layout elements can be found as symbols on the top toolbar or under the "Insert" menu item.
If an object is activated, the position and size, shape and grouping as well as text attributes and colors can be edited using the properties window. Sample pages can be created for efficient work on multi-page works. These can also be imported as templates from other files. Style templates can be defined and managed using the properties window.
After completing the work, a small integrated preflight check is also possible with the prepress check function. If everything is OK, the document can be exported directly to PDF format. The essential settings for print documents are made under the "Pre-Press" tab.
Scribus is the perfect tool for beginners when it comes to layout. The menus are not overloaded and quickly lead the user to their goal. Here too, a direct comparison with InDesign shows significantly less functionality in the individual areas. The range of functions can be expanded using available scripts. The mail merge function is an important point here. However, this requires a bit of tact to ensure that a viable result is achieved in the end.
Let's draw a brief conclusion. A look at the open source area is really worthwhile. There are also numerous professional tools for the DTP area that can generate solid print data.
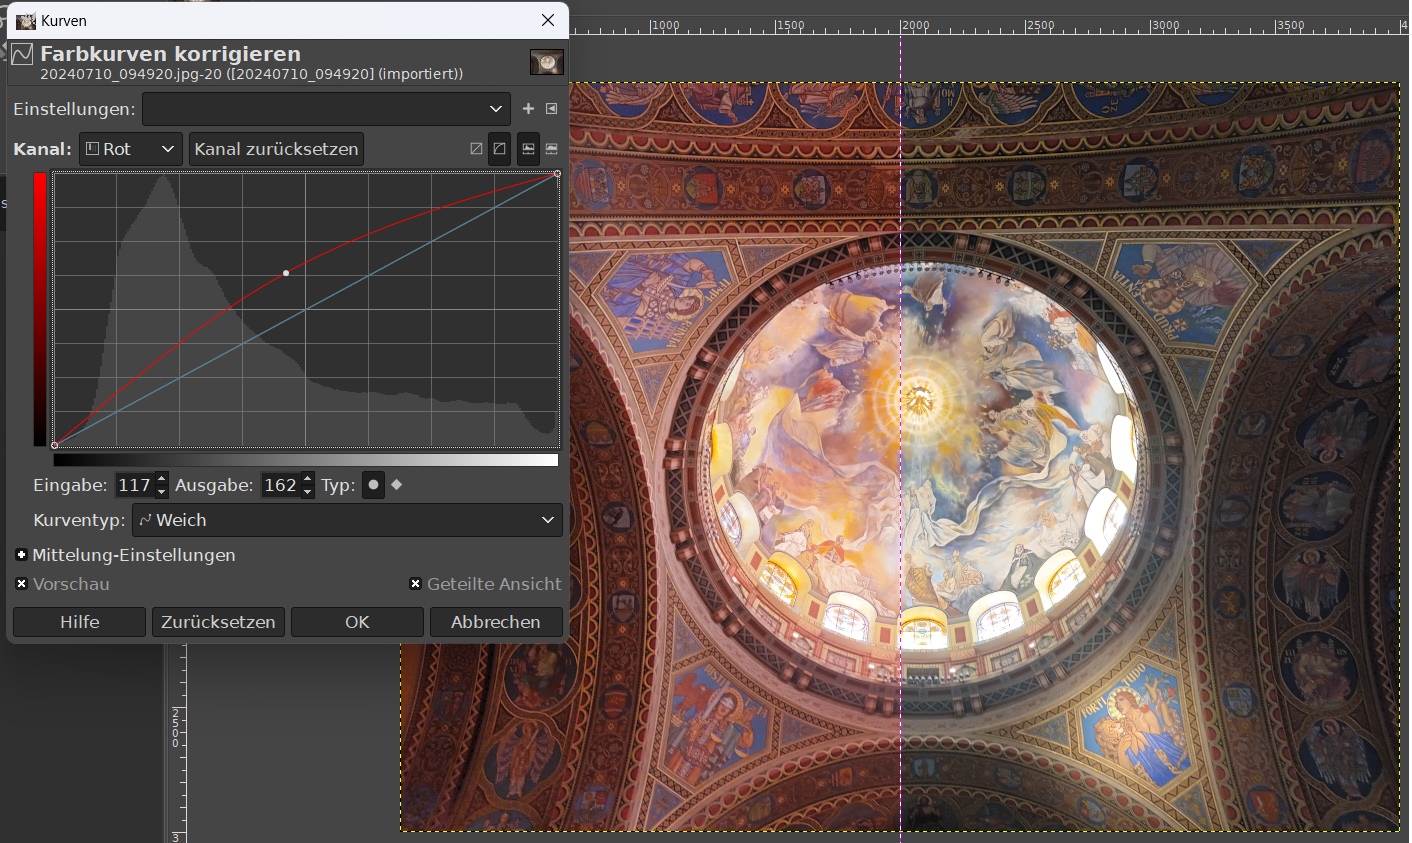
Figure 2: Split view in the Color workspace, correct color curves.
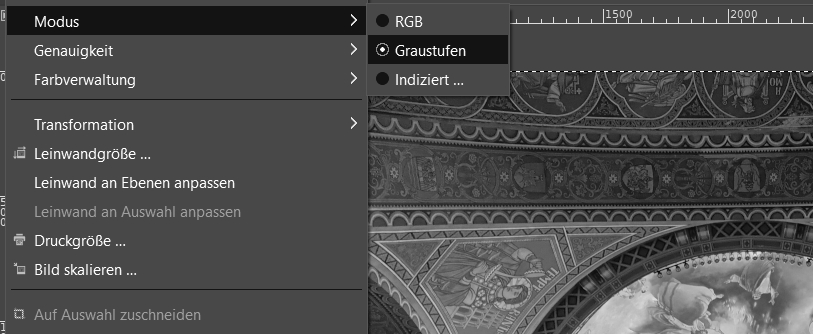
Figure 3: Available color modes in Gimp.
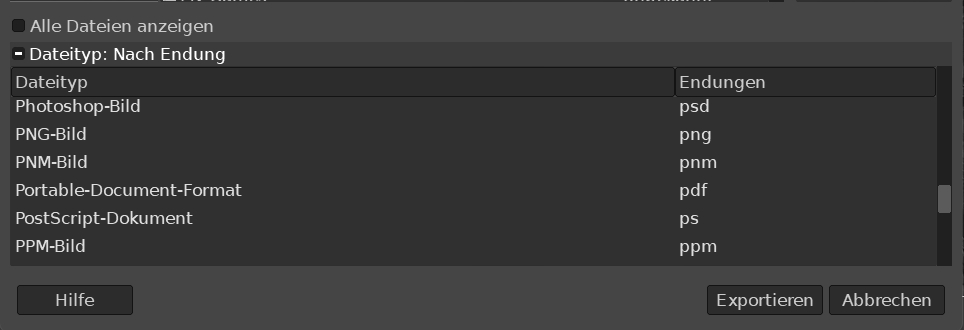
Figure 4: Numerous target formats are offered for export.

Figure 5: Start interface in Inkscape.
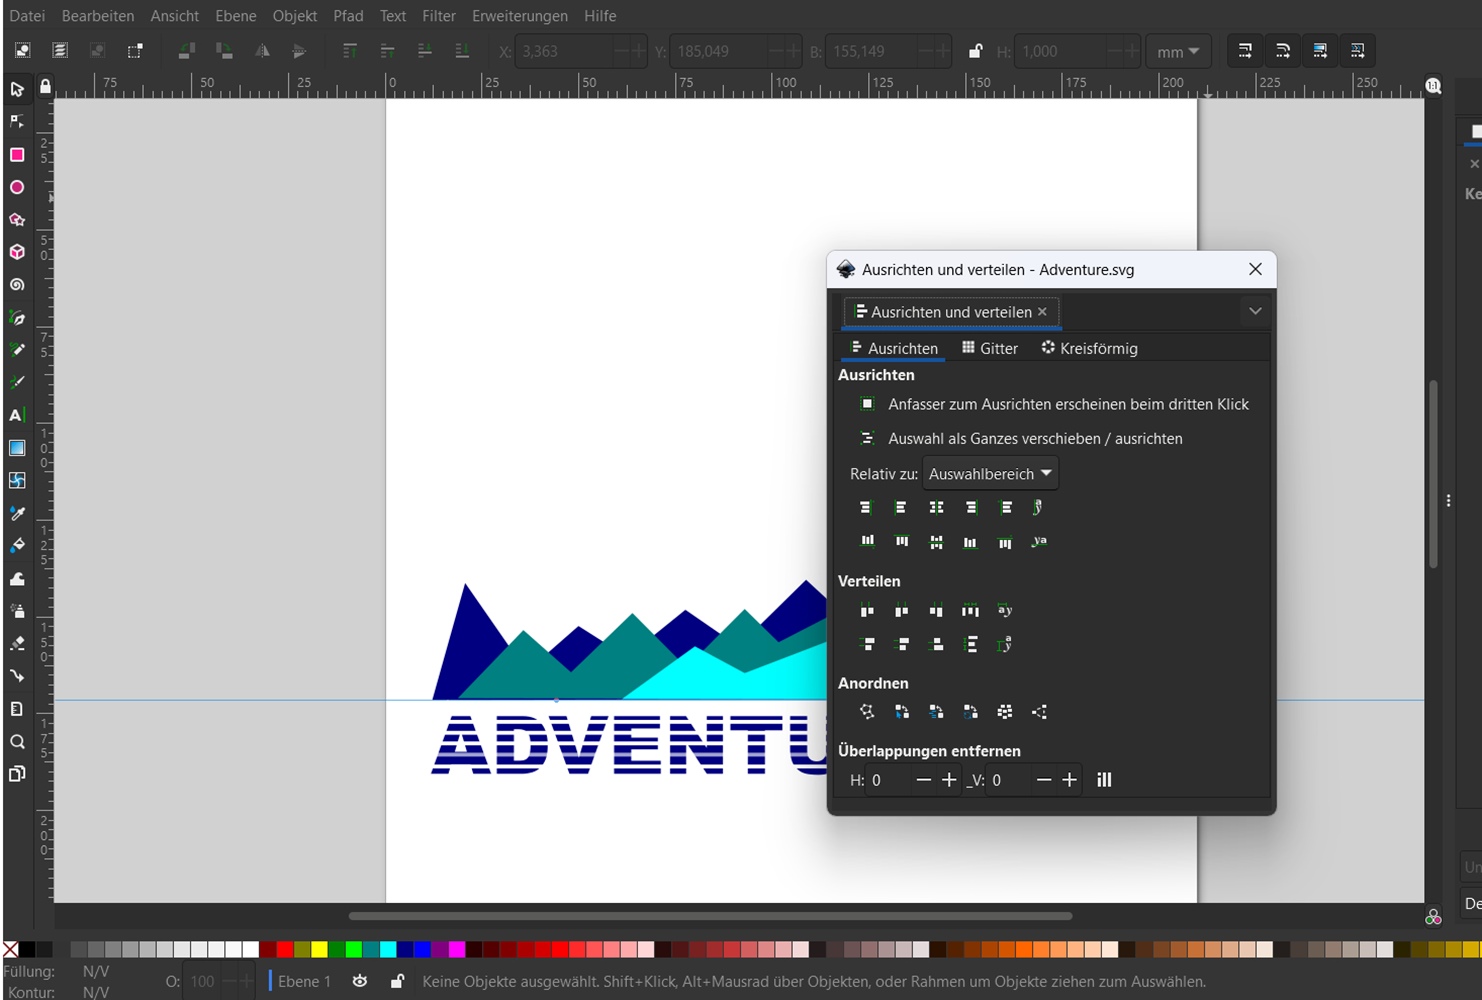
Figure 6: Alignment palette in a separate window.
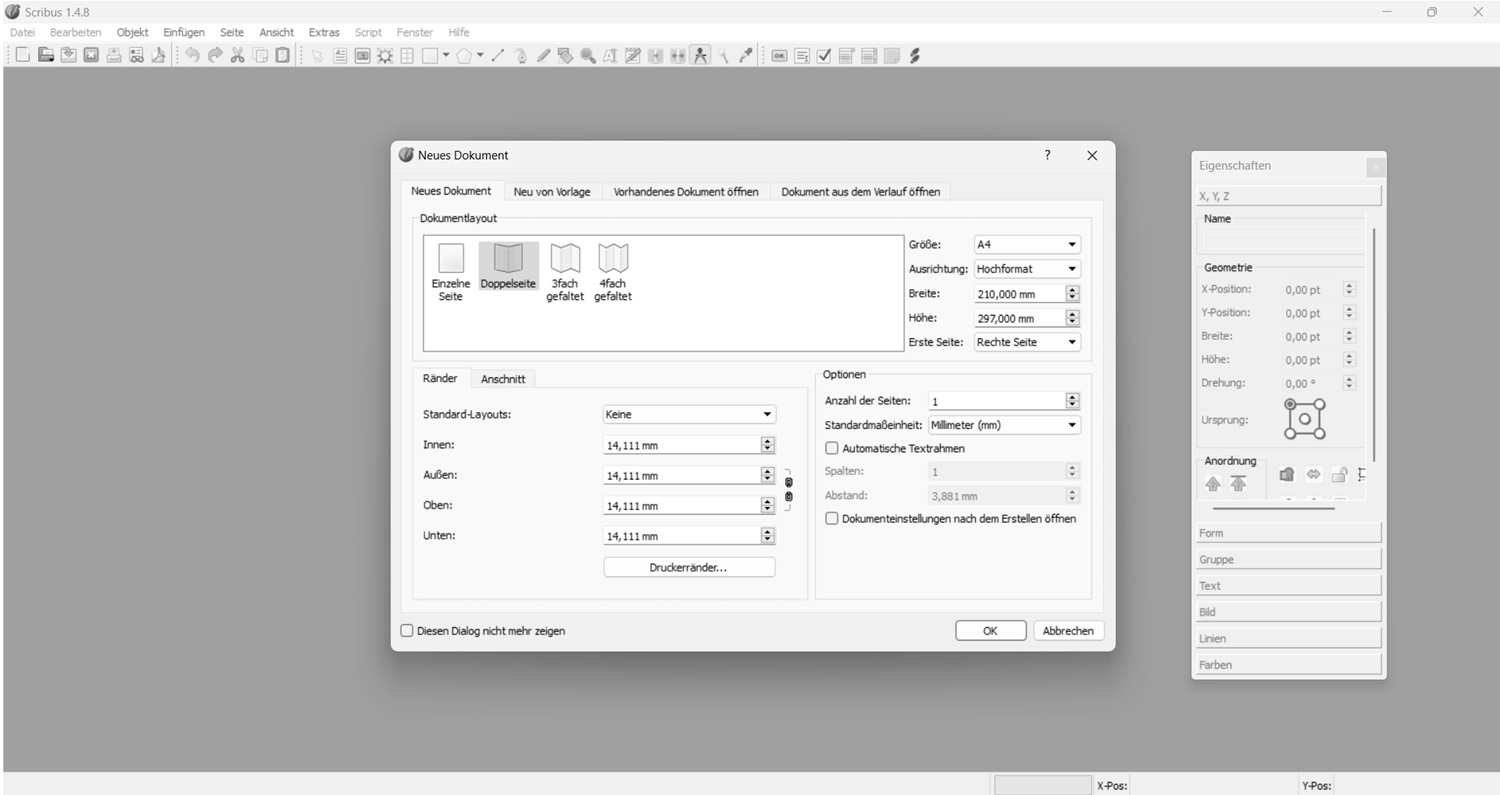
Figure 7: Home screen with document settings.
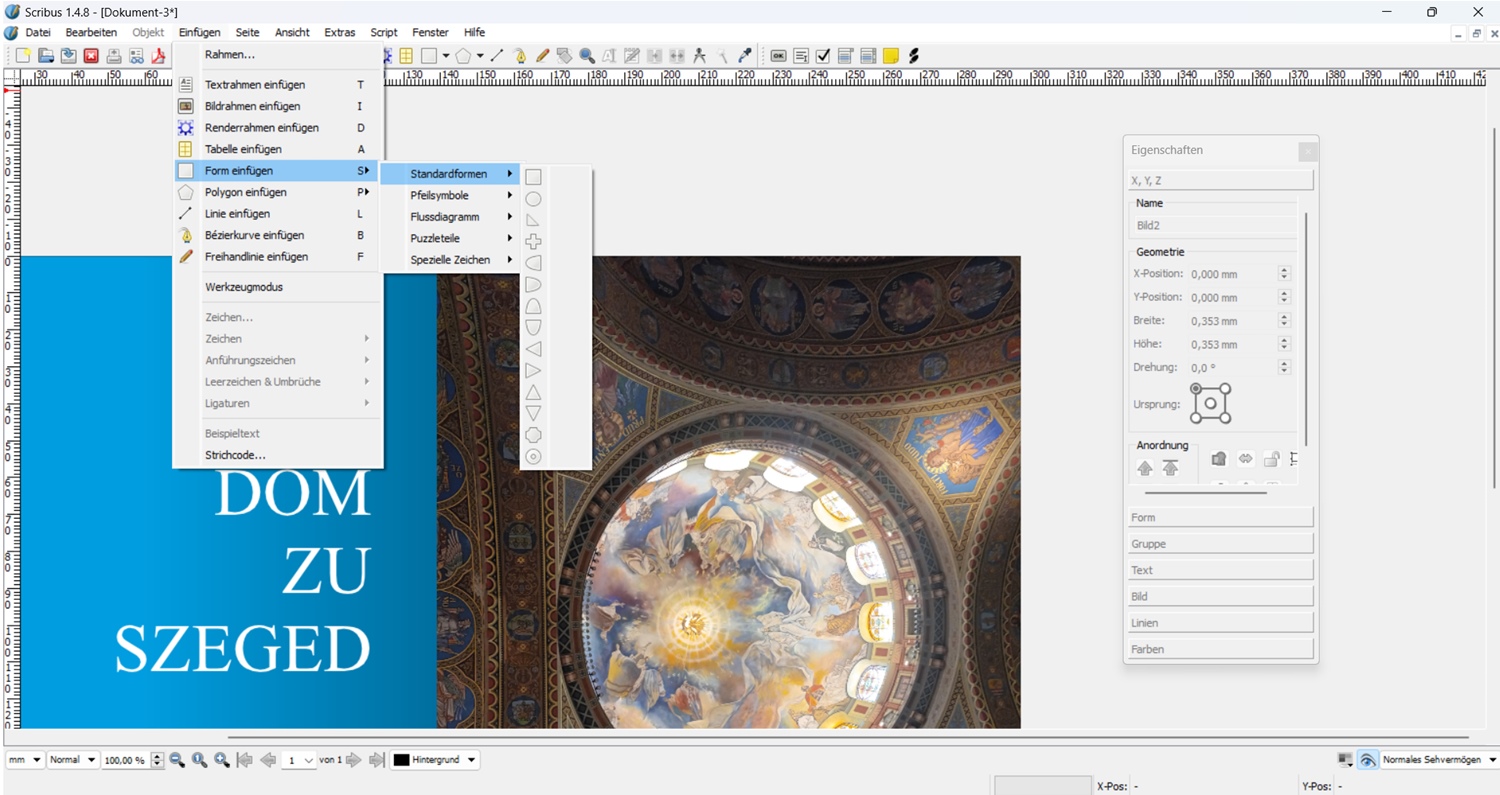
Figure 8: Layout elements and properties palette.
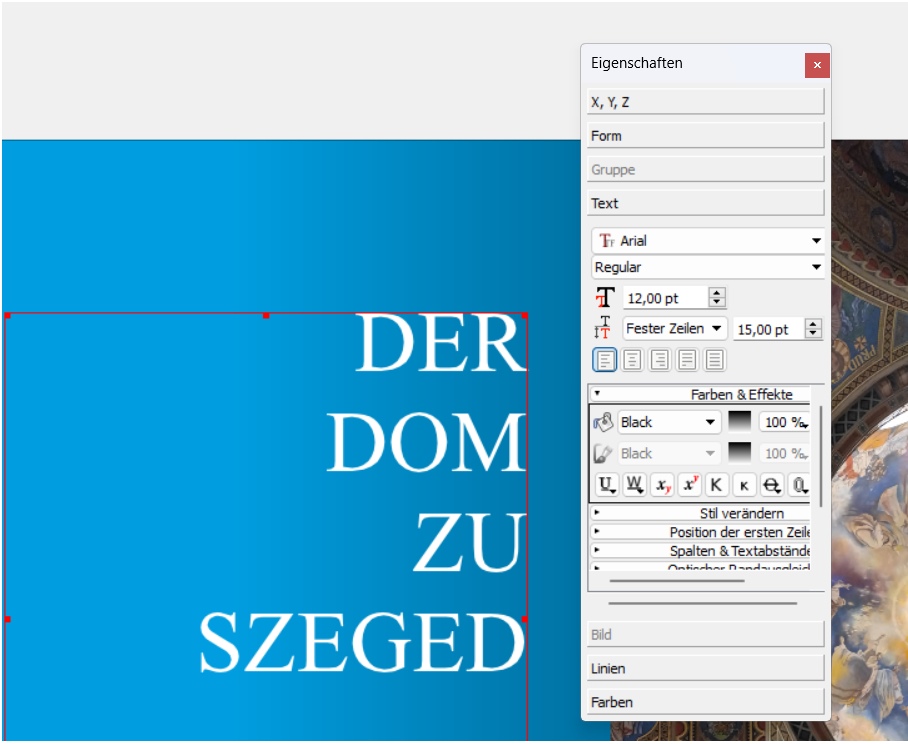
Figure 9: Properties palette with text options.
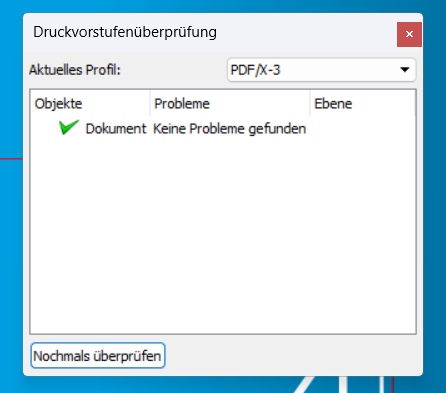
Figure 10: Integrated preflight check.
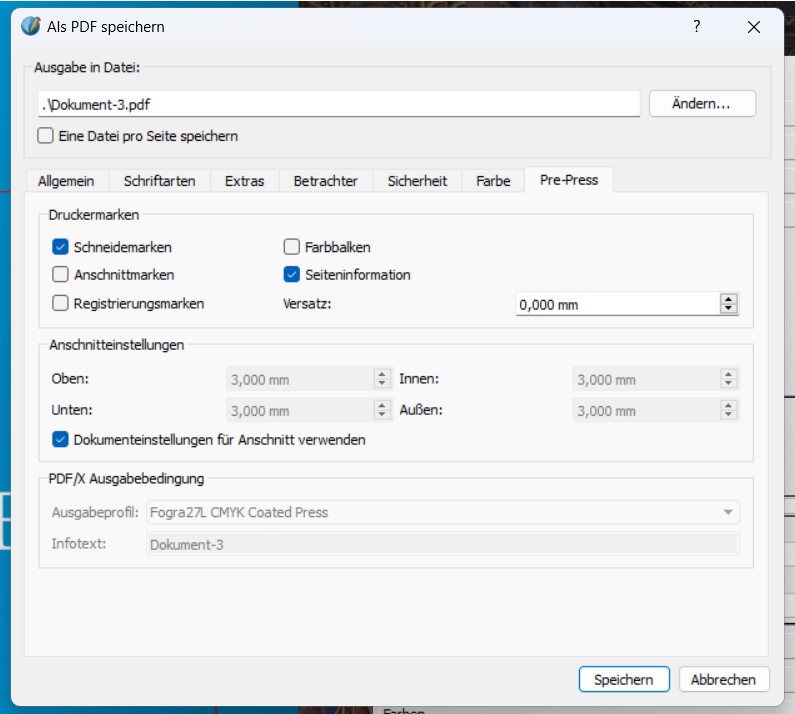
Figure 11: Prepress settings.

Author and Dipl.-Ing. Printing Technology (FH) Ronald Weidel has been working at the Gutenberg School in Leipzig as a teacher for printing technology since 2008.
Author: Ronald Weidel
Editor: sbr
Images: Ronald Weidel
Content

